How to Use Paint Defoamer: Dosage & Application Guide

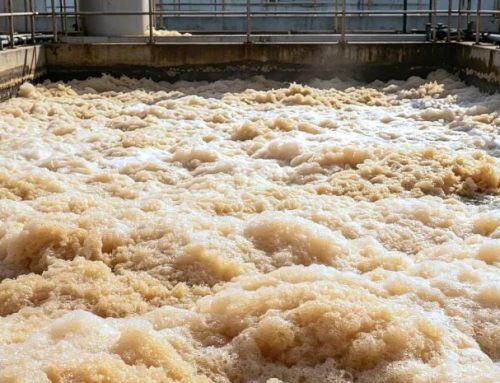
Foam is a persistent enemy in paints and coatings. Whether during production (grinding, mixing, let-down) or application (brushing, rolling, spraying), unwanted bubbles cause surface defects, weaken the protective film, and lower quality. This guide covers how and when to add a paint defoamer, typical dosage, and how to avoid craters and fisheyes. For the product range, see our paint & coatings defoamers page.
Why Foam Control Matters in Paints & Coatings
Excessive foam during paint manufacturing or application causes:
- Surface defects: pinholes, craters, fisheyes, and poor leveling that ruin the finish.
- Weaker protection: voids in the film reduce barrier properties and invite early corrosion or failure.
- Inconsistent properties: uneven gloss, color, and film thickness.
- Application problems: spitting when spraying, bubbling when rolling, drag when brushing.
- Slower production: longer pigment grinding, inaccurate filling, slower cycles.
How to Select the Right Defoamer for Coatings
- Binder compatibility: test with your acrylic, PU, epoxy, or alkyd system — incompatibility causes defects. For waterborne paint, INVINO-3100 / 3000 mineral oil grades give strong control with good compatibility.
- Application method: spray vs brush/roll need different defoamer strength.
- Performance balance: fast knockdown vs long-term suppression — for stubborn foam, a silicone compound like INVINO-604 gives powerful persistence (a strong alternative to grades such as BYK-024).
- Film properties: check effect on gloss, leveling, clarity, color acceptance, adhesion, and recoatability.
- Regulatory: VOC limits and, for some coatings, food-contact compliance.
- Cost-effectiveness: judge by dose-to-performance, not just unit price.
How & When to Add Paint Defoamer
Stage 1 — Before Production (Pre-Mix)
Add a small amount of defoamer before production to control foam early. For latex / waterborne paint, pre-wet with a little water first, then add the defoamer directly to the paint, followed by the rest of the water.
Stage 2 — During Production (Grinding / Let-Down)
Foam is worst in high-foam systems like primers, so dose during production. Typical dosage is around 0.1%; trial first to fine-tune. For heavy foam, add at the stirring / dispersion stage. Do not pre-dilute the defoamer in water before adding — it weakens the effect.
Stage 3 — After Application
Solvent evaporation and high-temperature baking can keep generating foam after application, leaving bubbles in the film. A small post-addition suppresses them. Cautions: don't overdose, always trial first, and avoid adding to an over-hot system — heat can break the defoamer down.
FAQ: Solving Paint Defects & Foam Issues
Q: Why am I getting "fisheyes" (craters) in my finish?
A: Usually a defoamer too incompatible or overdosed for the binder. Match the grade to the system (acrylic, PU, epoxy, alkyd) and dose correctly. A well-matched grade like INVINO-3100 mineral oil controls foam without craters.
Q: Should I add it during grinding or let-down?
A: Often both — part at grinding for in-can foam, part at let-down for application foam. Split addition balances knockdown and persistence.
Q: I don't see big bubbles, but my gloss is low (haze). Why?
A: Micro-foam or an over-strong defoamer can cause haze and low gloss. Use a balanced, compatible grade at the right dose rather than a strong silicone compound.
Q: Will the defoamer float to the top after sitting for 6 months?
A: Low-end defoamers can separate. INVINO grades are formulated for long shelf stability and resist oil-slick separation in the can.
Q: If I have foam, can I just double the dosage?
A: No. Overdosing can cause craters, fisheyes, and recoat or adhesion problems. Trial the dose and increase gradually — more is not always better.